Behind the inbox: Getting to know Zoho Mail’s command line interface (CLI)

Most people who work with Zoho Mail every day know the web client well, with its folders, filters, and Admin Console. It works, and for most tasks, it handles everything you need. But for IT admins and users who want to check things quickly, manage accounts without clicking through multiple screens, or just work the way they already do in a terminal, there's another way in: the command line interface.
A quick word on what CLI means
If the words "command line interface" make you picture a blinking cursor on a black screen from a late-90s tech thriller, that's understandable, but that image only tells part of the story.
A CLI is simply a text-based way of talking to software. Instead of navigating menus and clicking through screens, you type a command, press enter, and the tool responds with exactly what you asked for. That is, without any loading screens, sidebars, or navigation pane.
Developers and administrators have worked this way for a long time because it’s fast, direct, and easy to fold into their existing setup. Most enterprise software platforms offer some form of command line access, and Zoho Mail is no different. Where it goes one step further, is how it handles the authentication.
What Zoho Mail’s CLI is
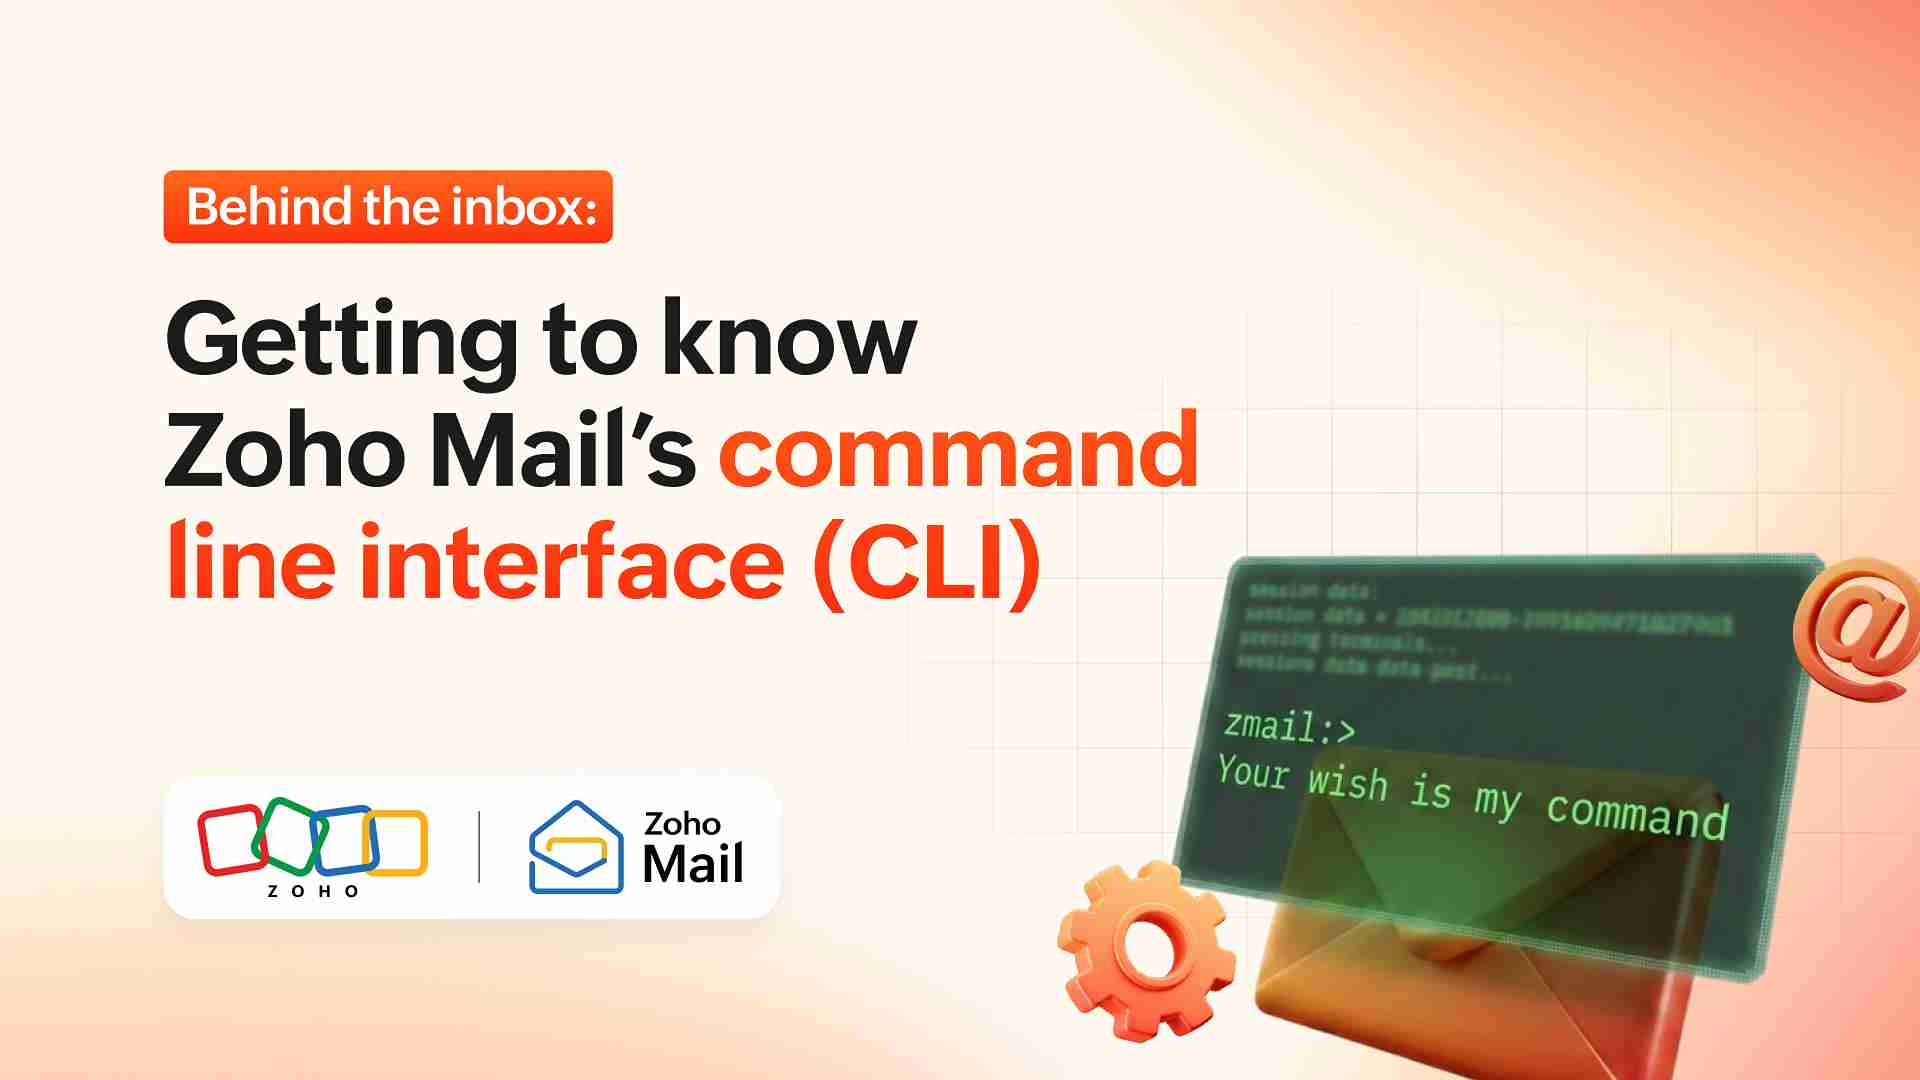
The ZMail CLI is a lightweight tool that runs on Mac, Windows, or Linux. You download it, run it once, and from there you're working in a text-based interface where you type commands and get responses. It’s called a shell, which is code for a kind of environment where you interact with software through text rather than buttons and menus. The prompt may start with something like this:
zmail:>
To log in, the CLI generates a link that you open in your browser. You approve access through Zoho OneAuth, Zoho’s own authentication system, and that’s it. After that, the CLI remembers you. It stores a small encrypted file on your machine that handles your identity automatically at the start of each session, so you’re not logging in from scratch every time you open it.
You never type your Zoho credentials into the terminal. The CLI:
- Opens an OAuth consent URL in your browser.
- Uses Zoho OneAuth to approve access.
- Stores only a refresh token encrypted with your own password in a small local file.
So it’s built on the same OAuth and OneAuth stack we use for the rest of Zoho’s apps. Plus, the CLI works by talking directly to Zoho Mail in the background, which means that most things you can do in the web client or Admin Console, you can also do from the command line.
Where CLI earns its place
For everyday email, the web client does what it needs to. The CLI isn’t trying to replace that. But there are situations where you want to get rid of page loads entirely and work in something that lets you chain and reuse commands, especially when you’re dealing with repetitive, time‑sensitive, or bulk operations.
Picture a compliance or security review request coming in with some urgency. You need to pull a specific audit log, check how a domain is configured, or verify a mail policy. Through the CLI, you type a command and the information comes back directly, right there in the terminal. For admins who handle this kind of request regularly, that saves time and cuts out a lot of waiting on page loads.
Onboarding and offboarding is another area where it pays off. When you’re checking account configurations for several users at once, doing it one by one through the interface adds up quickly. The CLI lets you retrieve user details directly, and it supports chaining commands together so that the output of one feeds straight into the next, without you having to copy and paste anything between them. You can also save values like an account identifier and reuse them across multiple commands in the same session, so you’re not typing or looking up the same information repeatedly.
It’s also useful for regular users, not just admins. You don’t need special access to use the CLI on your own account. If you want to quickly check what your out-of-office message says, see which signature is set for a particular email address, or look at your folder structure without opening the browser, you can do all of that from the terminal. For anyone who already works in a command line environment for other things, it means Zoho Mail fits right into the same space.
If you’re already thinking about automating the repetitive parts of your job, the CLI is a natural starting point. You can write scripts that interact with your Zoho Mail account, run regular checks, or connect it to other workflows, without having to build a full technical integration from the ground up.
The features that make CLI more than a lookup tool
Once you start using the CLI beyond simple lookups, a few features change how you work day to day.
Chaining commands (called piping) lets you take the result of one command and feed it directly into the next. So instead of running a command, reading the output, copying a value, and pasting it into the next command, it all flows through on its own. Less manual work usually means fewer mistakes.
Variables let you save a value, like an account ID or a folder name, and reuse it across multiple commands in the same session. If you’re working through several steps that all involve the same account, you save it once and refer to it throughout rather than typing or pasting it each time.
There’s also a built-in help guide inside the CLI itself. If you’re not sure what a command does or what options are available, you can ask from right inside the terminal without having to switch to a browser tab. It makes it easier to discover what’s possible without leaving the terminal.
Getting started with Zoho Mail CLI
The setup is fairly simple. You’ll need Java 17 or higher installed on your machine. If you’re not sure whether you have it, here’s what to do.
On all three platforms, begin by opening a terminal.
Windows:
Open the Start menu, type “Command Prompt” or “PowerShell”, and open it.
macOS:
Open Terminal from Spotlight (Cmd + Space → “Terminal”) or from Applications → Utilities → Terminal.
Linux (most distributions):
Open your distribution’s terminal (for example, “Terminal”, “Konsole”, or “GNOME Terminal”) from the applications menu.
Then type in this command to check your Java version:
java -version
If it’s Java 17 or higher, you’re good to go. Otherwise download any appropriate Java version. Then download the ZMail CLI file from the Zoho Mail help documentation and save it in your preferred destination and then run it:
java -jar zmail-cli.jar
You’ll be asked to set a password. This is what protects the file that keeps you logged in, so pick something you’ll remember. After that, log in with:
zmail:>login
If your organization’s email is hosted in a specific region, you add that to the login command. For India, for example, it’s "zmail:>login --dc zoho.in." The getting-started documentation lists the values for all supported regions including Europe, Australia, Japan, Canada, and Saudi Arabia.
A few things to try first
Once you’re logged in, type "help" at the prompt. This is your map. It shows you everything the CLI can do, organized into two main areas: admin operations and user operations.
Admin operations cover the things an organization administrator would typically manage, including organization details, domain settings, user accounts, groups, mail policies, and audit logs. User operations cover the things any account holder can do with their own mailbox, including folders, labels, signatures, vacation replies, account preferences, and message access.
Start with something familiar. If you manage your own account, try pulling your folder list or checking your current vacation reply status. If you’re an admin, try retrieving your organization details or looking up a specific user’s account configuration. They’re simple starting points that let you see how the tool behaves and what the output looks like, before you use it for anything time‑sensitive.
Here are some commands you can get started on, based on your needs.
Authentication and setup | |||
What you want to do | Command (example) | Who it’s for | What it does |
Log in (default US data center) | login | Admin/User | Starts an interactive login and connects the CLI to your Zoho Mail account in the default US data center. |
Log into a specific region (e.g. India) | login --dc zoho.in | Admin/User | Logs in to Zoho Mail in a specific data center (for example, India), so all subsequent commands run against that region. |
Organization and admin operations | |||
What you want to do | Command (example) | Who it’s for | What it does |
Get subscription and storage info | orgManagement getOrgSubscription | Admin | Shows your current plan, license counts, and organization-level storage usage. |
Fetch a specific user’s details | userManagement fetchParticularUser --user <user_email_or_ZUID> | Admin | Retrieves details for a single user so you can inspect their status, roles, and mailboxes. |
Disable a user account | userManagement disableUser --user <user_email_or_ZUID> | Admin | Disables sign-in for a user account while retaining their data and mailbox. |
Accounts and identity | |||
What you want to do | Command (example) | Who it’s for | What it does |
Get all your mail accounts | account list | User | Lists all Zoho Mail accounts linked to your login in the CLI. |
Get details of a specific account | account inspect --accountid <account_id> | User | Shows detailed information about a specific mail account, including configuration and status. |
Vacation replies | |||
What you want to do | Command (example) | Who it’s for | What it does |
Add a vacation reply | vacation add | User | Creates a new out-of-office/vacation reply for your mailbox. |
Update a vacation reply | vacation update | User | Modifies an existing vacation reply (dates, subject, message). |
Delete a vacation reply | vacation delete | User | Removes an existing vacation reply so out-of-office responses stop going out. |
Folders and labels | |||
What you want to do | Command (example) | Who it’s for | What it does |
Create a new folder | folders create --name "<folder_name>" | User | Creates a new custom folder in your mailbox. |
List all labels | labels list | User | Lists all labels currently available in your mailbox. |
Create a new label | labels create --name "<label_name>" | User | Creates a new custom label to organize your emails. |
Sending and searching email | |||
What you want to do | Command (example) | Who it’s for | What it does |
Send an email | message send --to <email> --subject "<subject>" | User | Sends an email directly from the CLI using your Zoho Mail account. |
Search emails | message search --query "<search_text>" | User | Searches your mailbox for emails that match the given query string. |
Signatures | |||
What you want to do | Command (example) | Who it’s for | What it does |
Add a signature | signature add --name "<sig_name>" | User | Creates a new email signature for your account. |
Update a signature | signature update --name "<sig_name>" | User | Edits an existing signature (content or settings) for your account. |
The commands follow a consistent pattern throughout, so once you’ve run a handful of them, the rest start to feel intuitive. You can find the Zoho Mail help documentation here.
Wrapping up
The ZMail CLI is one of the quickest ways to get things done without waiting on a browser tab to load. It brings org-level controls, account configuration, and message-level operations into the same place many of you already use for everything else: your terminal. If you’re an admin responsible for uptime and compliance, a developer scripting against Zoho Mail, or a power user who prefers commands to clicks, it gives you a faster, more direct path for the work you do repeatedly. Try it on a few real tasks first, and when you’re ready to go further, the full range of admin and user operations.


Comments